

Easy Fuse Testing Methods (How to check fuse 2026)
In any circuit design, one of the key things we look for is how we can protect the circuit from any bad situations.
Such bad situations include excessive current flow, over voltage, external conduction radiation, and a few others.
There are different techniques we use in our to prevent those unfavorable situations.
But for over current flow and over voltage situations we use a fuse.
Now, what is a fuse, and how we can test it?
This is what we will cover in this article.
At the end of this article, you should be able to know:
- Fuse basics
- Fuse testing theory
- Fuse testing methods
- Testing a fuse with a multimeter
Sounds interesting? Then, I am sure you will enjoy the rest of this article as well.
Let’s get started.
What is a fuse?
You know, circuit protection is one of the key concerns. A bad circuit can be dangerous. You may have heard about short circuit accidents.
Short circuits and similar situations happen due to ignorance of safety measures.
The question is how to prevent it?
The simple answer is to use a fuse.
A fuse is a component that protects our circuit from overcurrent flow.
Overcurrent means current that is high from the rated value of a given circuit. Like a circuit is rated for 10A max. Then the current more than this value can damage the circuit.
There are also cases where we get high voltage. This high voltage leads to high current flow if the load resistance is low.
Now what happens is, we put a fuse in series with the main supply. The fuse has the capability to blow up when the current exceeds its ratings.
For example, if the fuse is rated for 2A current max. Then the current more than this value will blow the fuse, making an open circuit. This open circuit makes the circuit to break, thus stopping the over current flow to the circuit.
Circuit symbol and the physical fuse
Every component has its circuit symbol. A circuit symbol helps us draw the circuit on paper for our analysis and design.
Also, with the circuit symbol, we can simply design our circuit in simulation software.
The unique circuit symbol of the fuse is the following:
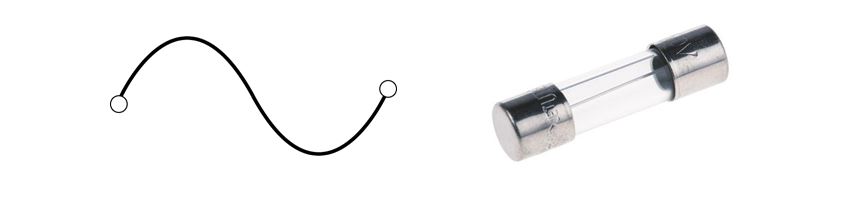
On the right, you can see a physical fuse as well.
It is a very simple tool with a very good scarifying job in the circuit. I mean it sacrifices itself to protect the rest of the circuit. Also, there is no repair for the fuse. You must replace it with a new one.
Fuse testing theory
Fuse testing means to tell if the fuse is good or bad. The testing theory will help us what actually happens on the tools levels.
Like, instead of just using the tool I believe it is more helpful for students to know how the tools are doing so. What kind of mathematics is involved in the design?
Alright!
Basically, a fuse is a straight wire. We place it in series with the main supply line.
Now, it is wire and a wire of short length. Then the voltage across it should be zero. That means it should have a low resistance value.
Now, what is resistance? (A beginner may ask)
Simply, resistance (R) is the capability of a wire to oppose the current flow through it.
We measure the resistance of a resistor by using Ohm’s Law. Since Ohm introduces this concept that is the reason the resistance unit has been Ohm.
Following is the formula of resistance derived from Ohm’s law.

Now, the fuse offers low resistance to current flow in normal conditions. You can say a fuse act as a short circuit when it is in good condition.
For example, when we measure a short circuit (A good fuse) the multimeter will always give a reading of 0 resistance on the screen.
Let’s see the mathematics behind it.
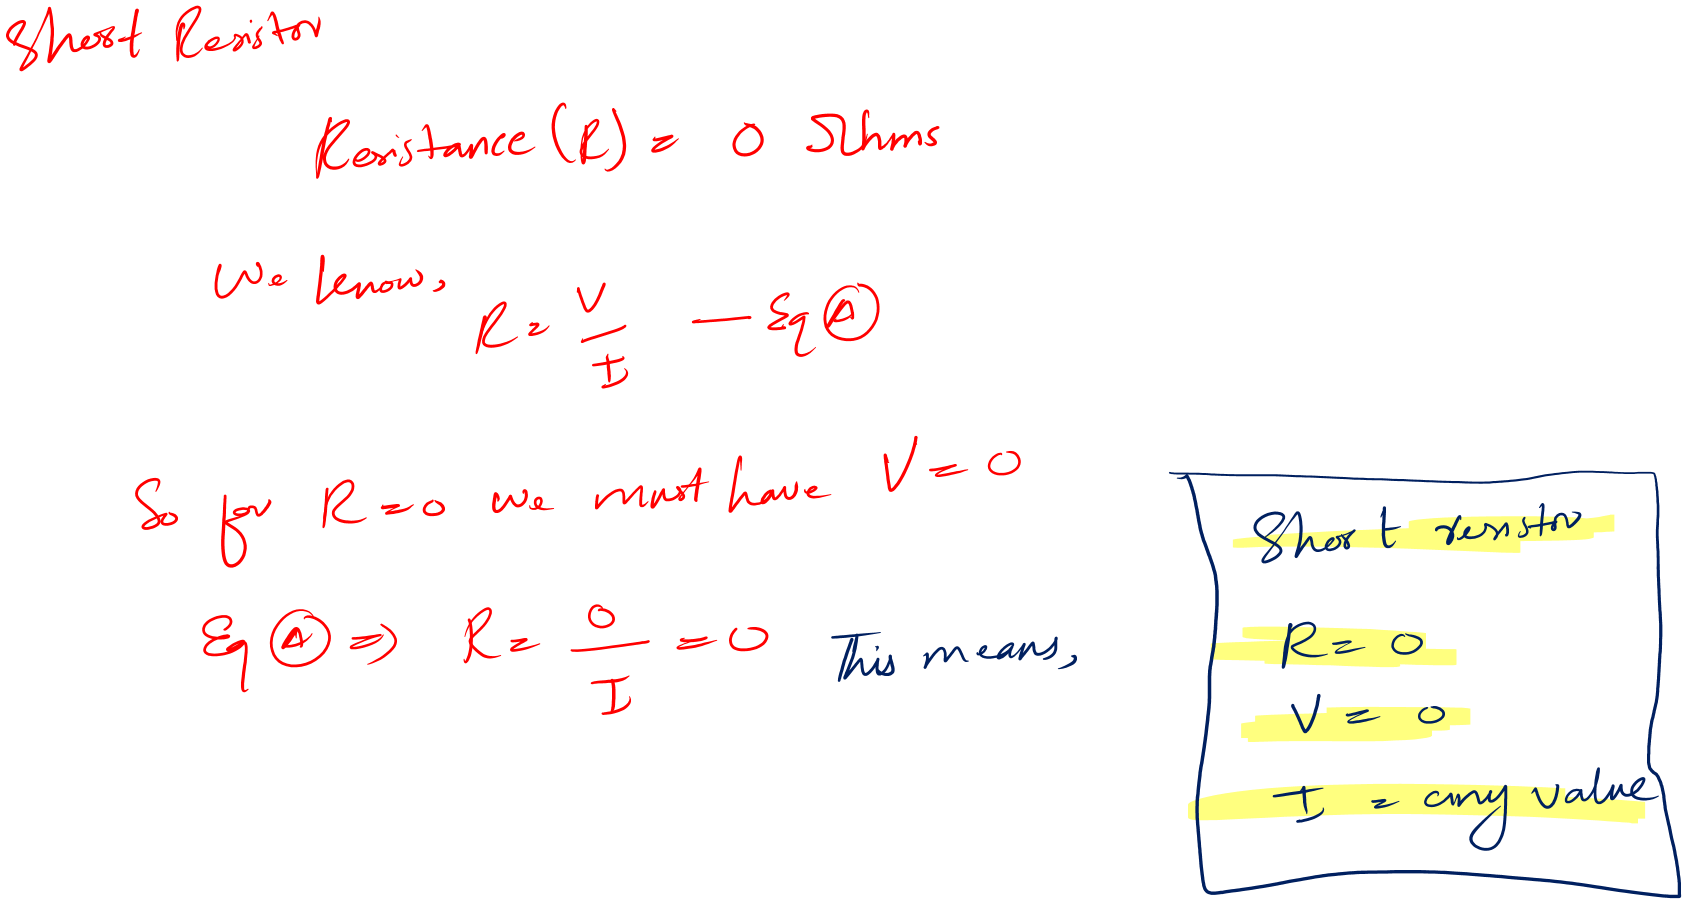
So in the case of a good fuse (short), there will be zero voltage across it and any value of current can possibly flow through it.
This means if we have a good fuse in our circuit a limited amount of current can flow through the entire circuit. But if the current exceeds the fixed value, the fuse will just blow and make an open circuit.
We will call that fuse an open fuse.
Open fuse
Open fuses (which can be represented as an open resistor) are those which give the resistance value of infinite.
For example, when you measure an open fuse. The device or the multimeter will give you “OL” readings on the screen.
An open fuse is always a bad fuse. Don’t use it in your projects.
Let’s see the mathematics behind it.

So for an open fuse, there can be any voltage value possible across it. But there is no current flow through it.
This means if we have an open fuse in our circuit. The entire circuit may not work because of the lack of current supply.
And that is how a fuse protects our circuits.
Continuity
We can say that fuses are continuous. For example, a good fuse is short which means a specified current can flow through it.
We can use the multimeter continuity feature to actually tell if the fuse is good or bad.
Upon testing a good fuse you will hear a beep sound. While there should be no sound when you connect a bad fuse.
Fuse testing methods
Following are the practical ways you can use for any fuse testing.
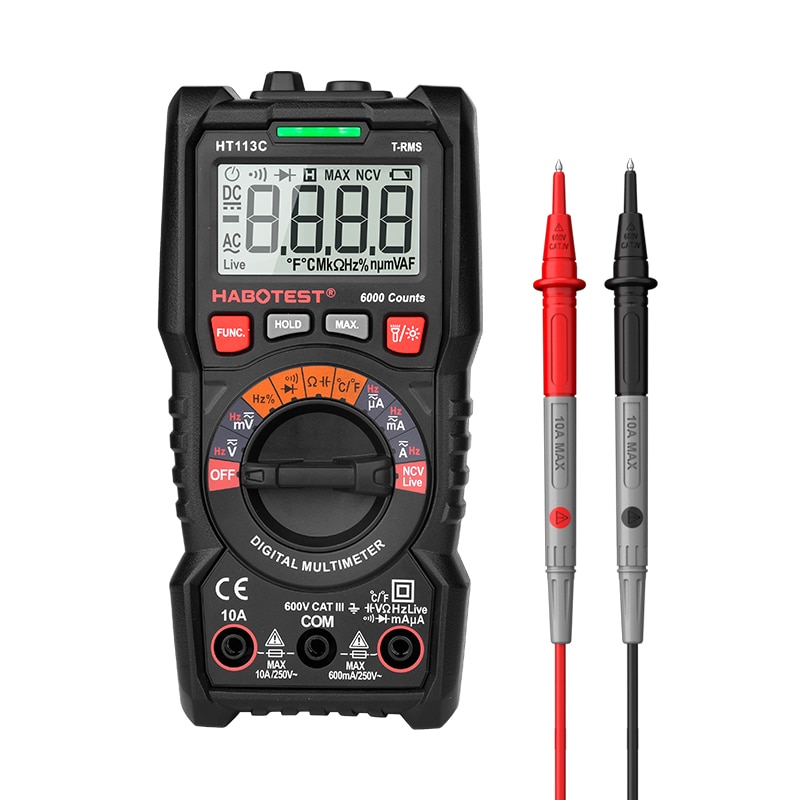
a. Fuse testing using a multimeter
A multimeter is a device we use for the measurements of the following various quantities. Not just that we also use a multimeter for various circuit troubleshooting purposes as well.
- Capacitance measurements
- Inductance measurements
- Voltage and current measurement
- Resistance measurements
- Diode test
- Continuity test
- Transistor beta measurements, and pin configuration identifier
- Frequency measurements
- Temperature measurements
The cost of a multimeter increases with these additional measurements. But if you want them as per project requirements you can definitely have them in your single multimeter.
Alright!
Following are the steps using which we can test any given fuse using a digital multimeter.
- Take your multimeter and set it on continuity test mode
- Take your fuse
- Connect the probes of the multimeter to the fuse
- If you hear a beep sound from your meter, this means the fuse is good
- If you don’t hear any sound this means you have a bad fuse
If your multimeter doesn’t have the continuity feature. Then you can try the Ohm mode.
Following are the easy steps of fuse testing using an ohm meter.
- Take your multimeter and select the resistance mode
- Take your fuse and connect it to the multimeter
- If you see some value on the screen, this means your fuse is good.
- If you see OL on the screen, it means that fuse is open and is bad. Don’t use it in your circuits.
Let’s talk about another simple method of fuse testing.
b. Fuse testing using a fuse tester
A fuse tester is a tool that tells right away if the fuse is good or bad. It is a very simple and easy to use tool.
Following is the fuse tester (Amazon link) that I will use for this method.
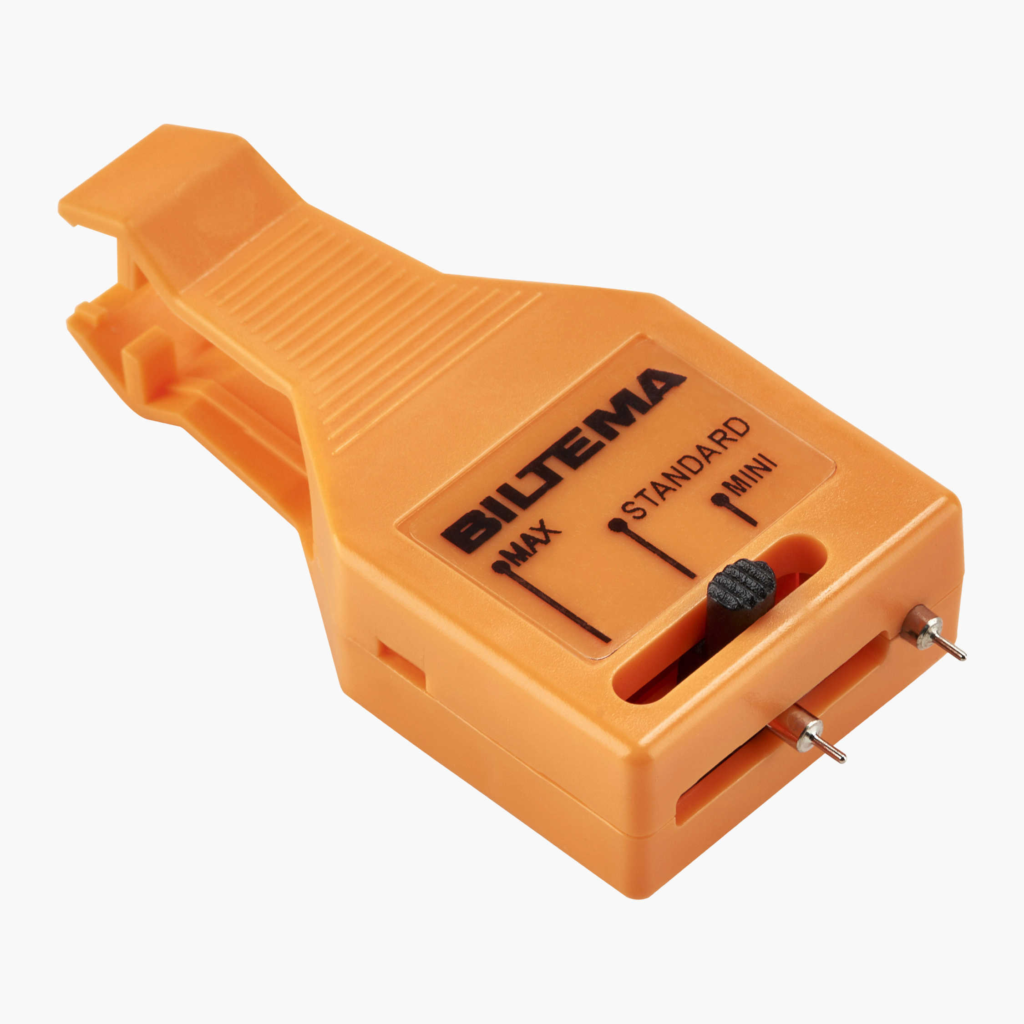
You can see that is a unique piece of equipment that you should have in your lab.
Following are the easy steps:
- Take your fuse tester and fuse
- Adjust the length of the fuse tester out legs according to your fuse.
- Put the fuse on the two legs
- See if the LED on the tester turns on.
- If the LED turns on, you have a good fuse
- Else your fuse is not good and should be replaced
c. Visual inspection
As the name suggests this method involves judging a fuse by the naked eye.
Usually, a large amount of current flow is the reason for a damaged fuse. This damaged fuse is so easy to spot inside the circuit board.
The following are some obvious signs to look for:
- Busted open body
- Color-changed PCB around the terminals of a fuse
If you see such signs, then it is a definite sign of a bad fuse. That fuse must be replaced immediately.
Conclusion
There is a phenomenon called overcurrent flow. Which happens spontaneously due to some fault on the distribution line and other such reasons.
This overcurrent when flowing through the circuit completely or partially damaged them. And we don’t like this thing to happen in any possible way.
Like how likes to blow up their expensive devices or circuit projects.
So to protect our circuit from this we use fuse.
Basically, a fuse is a wire that we place in series with the circuit. But its current rating is fixed. Current exceeding this fixed value completely blows away the fuse. And this is how a fuse protects our circuits.
Now to test a fuse we can use the following tools:
- A multimeter
- A dedicated fuse tester
Well guys, this is all that we cover in the above detailed article. I just share what I believe a beginner should know about fuse testing.
So that is it. I hope I was helpful.
Now it is your turn. Share in the comment section which method of fuse testing you like the most and why. Also, share this article with your friends, it will help me a lot.
Thank you and have a grateful life.
Other useful posts: